October 14, 2018
Collect moments, not things.
As a child, I remember starting “collections” of dolls, or figurines, or coins, or other items. At first the collecting was exciting, and family members always knew what to get me for my birthday or for Christmas. After awhile, I just really just wasn’t into that thing anymore, and I began to feel burdened by the ever-growing collection. I couldn’t very well get rid of all those lovely things people had gotten me, but they were taking up space and I didn’t use them anymore. Ultimately, it was “out with the old and in with the new,” and I would trade one kind of collecting for another. I imagine I wasn’t the only child doing this collecting, and I think plenty of adults do it, too. What is it that makes us want to collect things? What need are we trying to meet by accumulating all of this stuff?
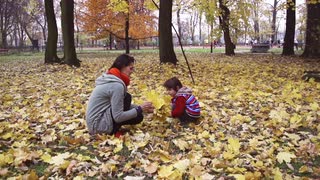
I was so pleased, as a parent of young children, to find the joy in collecting things from nature — glorious colored leaves, acorns, milkweed pods, and horse chestnuts all called to be stuffed into little pockets and brought indoors for decorating, crafting or playing. These lovely collections from the natural world allowed us to connect with the season and the abundant beauty right outside our door, and filled a deep inner need that collections of manufactured items did not. And when the mantle or the nature table became cluttered with our collections, or we simply weren’t using the items anymore, they were brought back outdoors where they rightfully belonged. With gratitude, we gathered many moments of joy and delight along with our gifts from the earth.
I hope this autumn time fills your nature table with lovely gifts from Mother Nature!

Mary O’Connell, Your Living Arts Weekly Editor
Creative Exploration
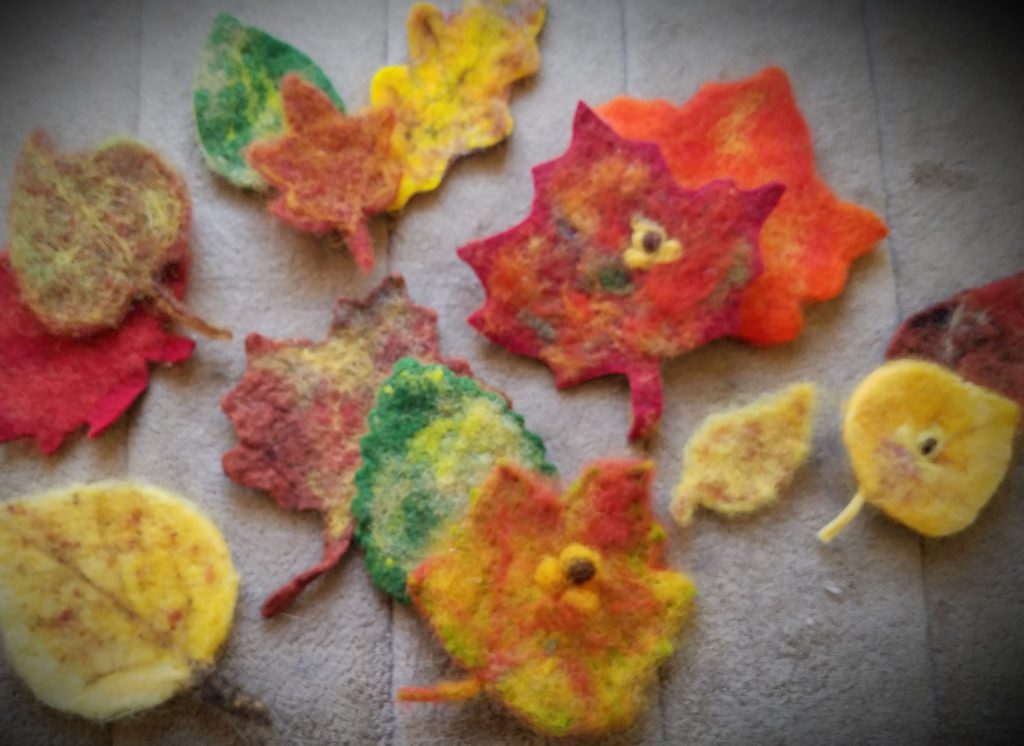
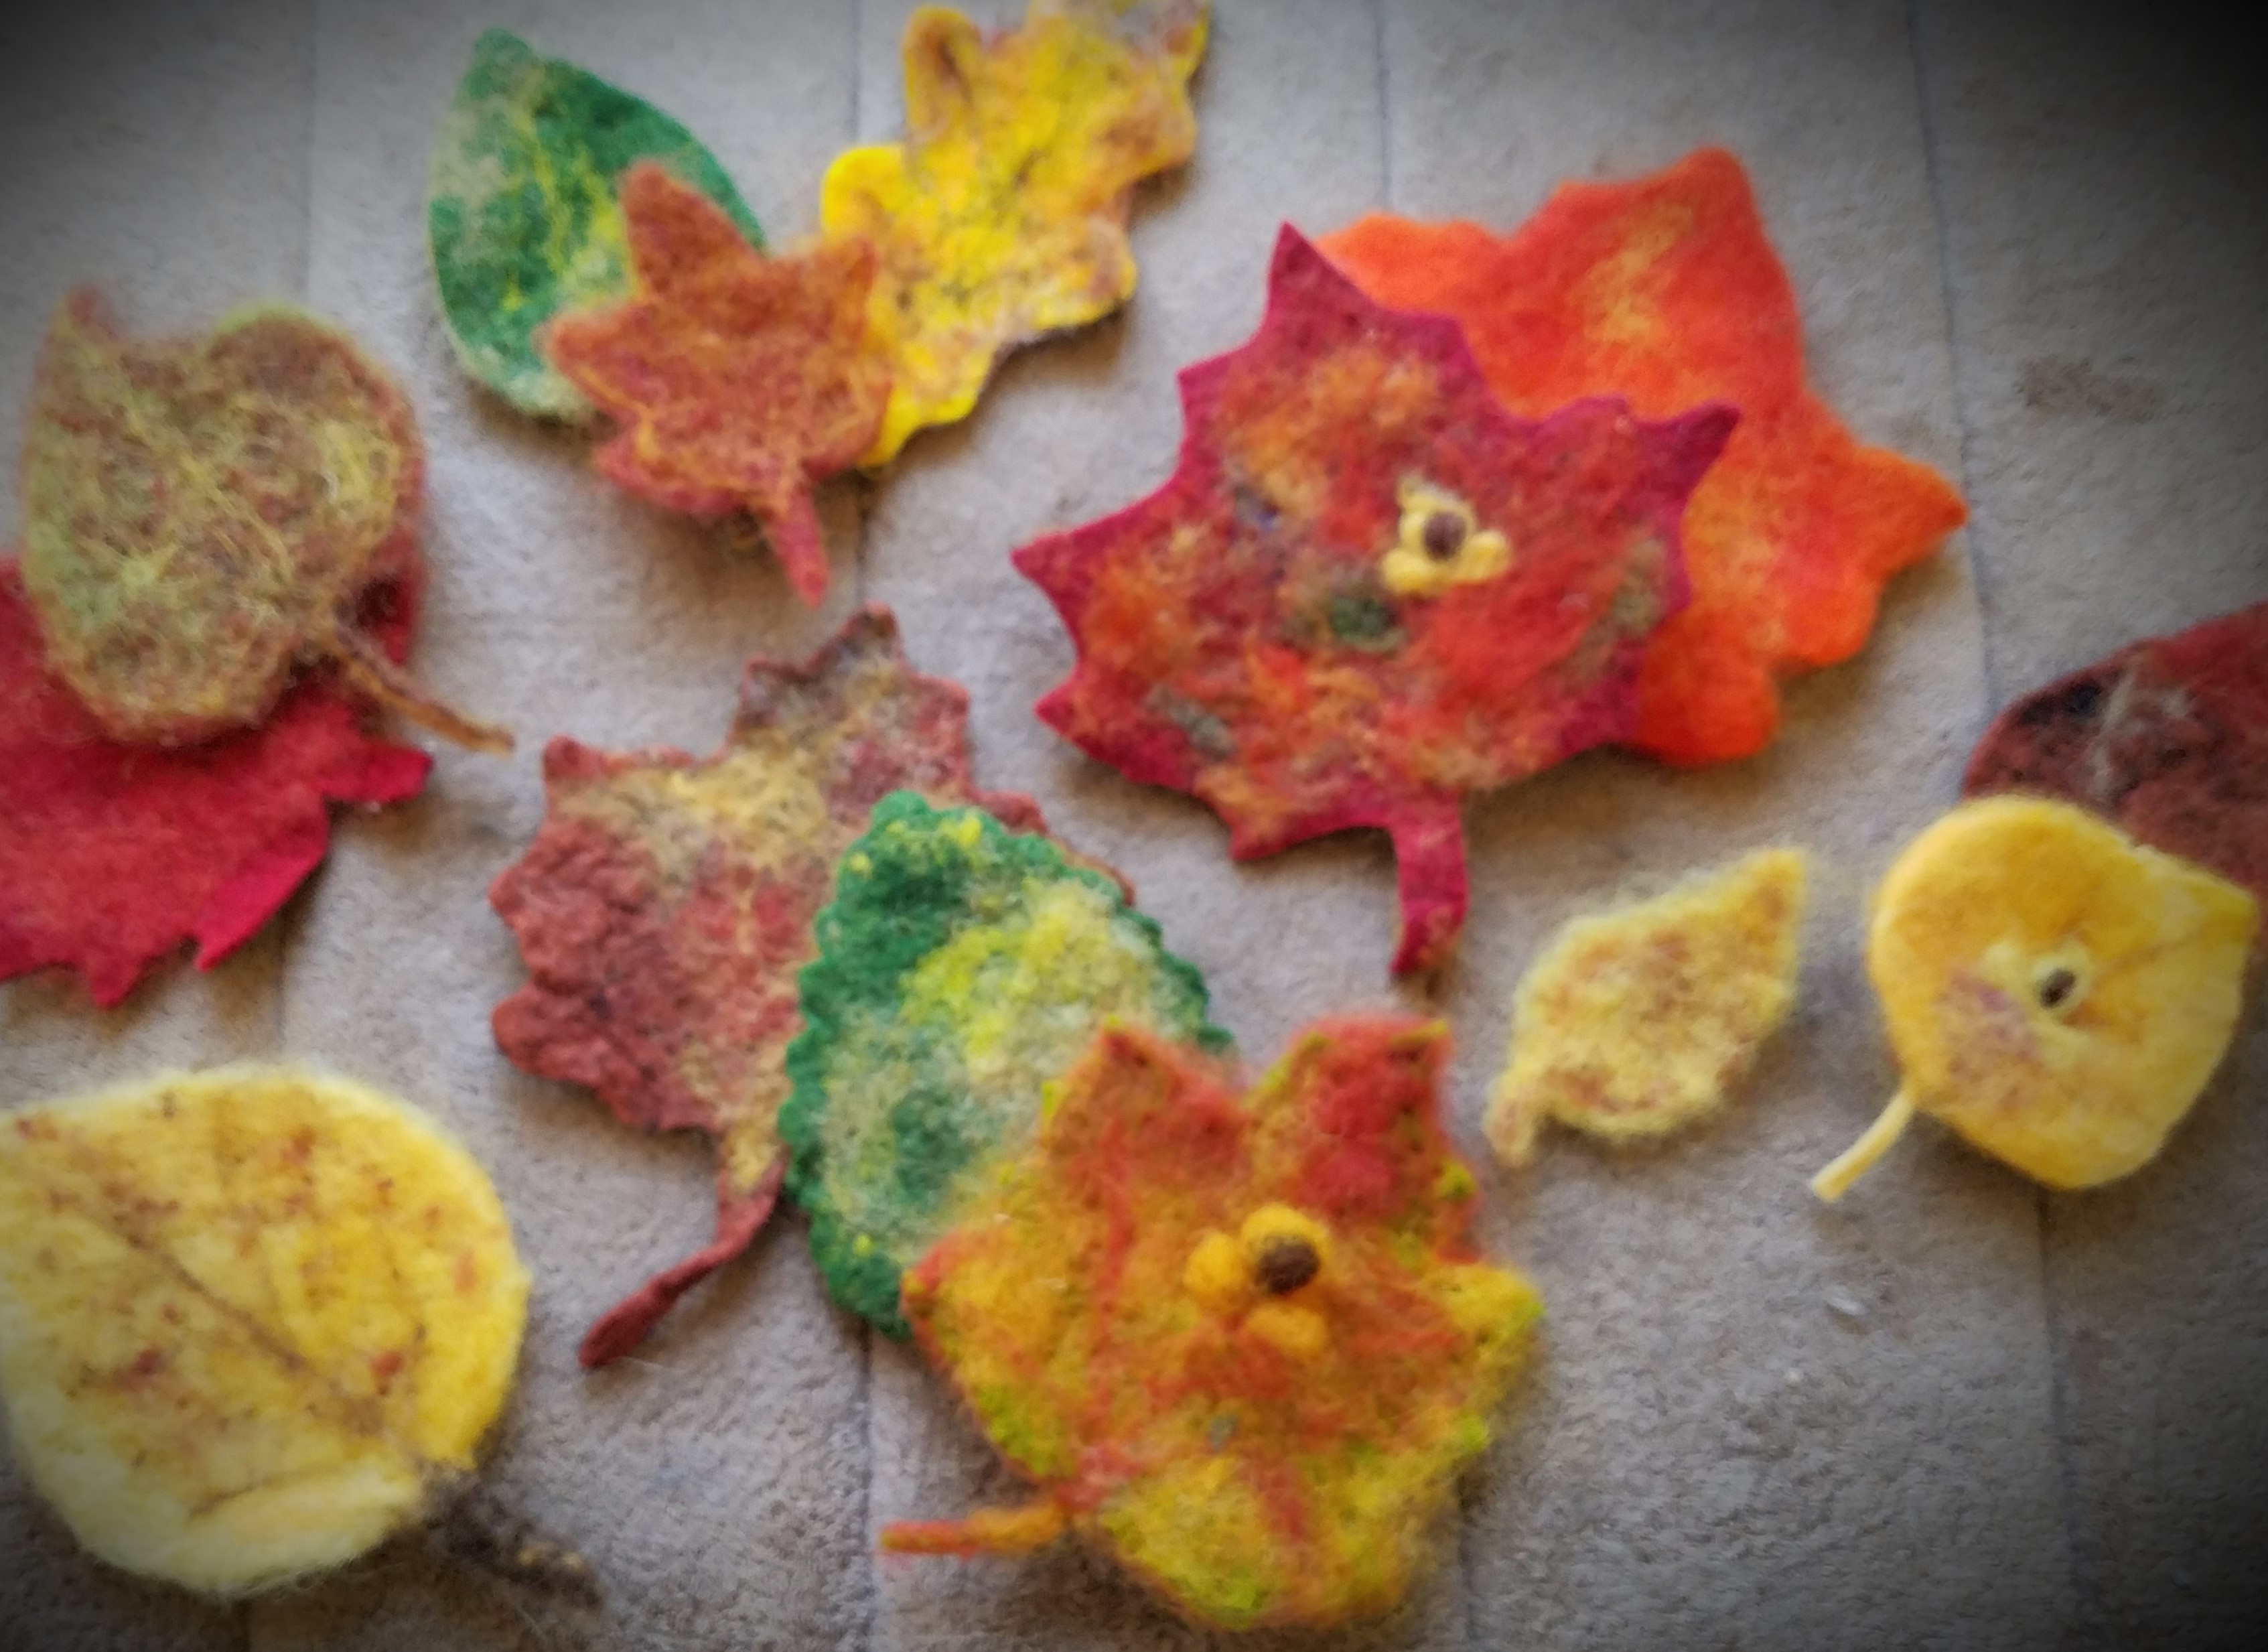
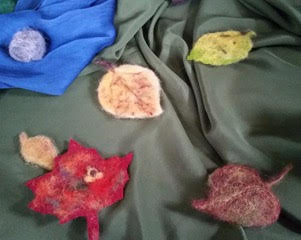
Felted Autumn Leaves from Pamela Perkins
Last year, I needed to make several dozen felted Autumn leaves quickly that would be sturdy enough for young children to use.
I experimented using flat felt from my local fabric store as a base. The only non-synthetic option available was a 35% wool/65% rayon blend. I chose a yard each from the limited color options: a heathery rust, pale yellow, heathery green and a brick red.
- I first soaked smaller pieces of each color thoroughly in cold water, wrung them out, then tossed the lot into a hot dryer. The results were (fortunately!) better than I anticipated : a pebbly textured base that lent itself to needle felting. I then washed all of the yardage. The heathery tones work best, as they have a more interesting mottled surface.
- I carded small piles of various reds, golds, yellows, oranges, browns and mixed green wool fleece. Using very wispy bits of fleece, I began to firmly needle into the base felt. (Needle felting tutorial here.) On some sections, I chose to do both sides; for others , only one. It is much easier to felt into the entire larger piece and then cut into leaf shapes afterwards (I learned the hard way).
- When I finished, I wet felted some pieces. I gently soaked in hot water, adding plenty of soap, patting, then gradually and carefully increasing pressure until I was firmly scrubbing and alternating cold and hot water dips. I line-dried on a sunny day, then finished off briefly in the dryer. Other pieces I left “as is”, so that these have a more raised, textured surface.
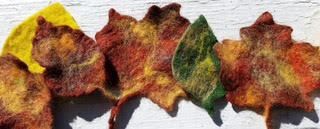
- I used stencils and ‘free’ form shaping to create the different leaves in my area. Stems were cut out as part of the leaf or added later. I did ‘fiddle’ with the final leaves, adjusting the color pattern here and there. I added strings to some leaves using carpet thread, for use on a bare branch or put over my fingers for certain songs and poems.
These sturdy leaves can be twisted and stretched to look more realistic. Of course, one can use real leaves for decorations, circle work and puppet plays, but the weather and frost do not always cooperate timing-wise…so these felted alternatives can come in handy.
Nurturing Care
A sweet, nurturing song from Cynthia to share with the little ones in your life.
Scarlet and yellow, golden and brown from LifeWays North America on Vimeo.
Scarlet and yellow, Golden and brown;
Winds of the autumn blow the leaves down.
Pull from their branches their curtains and spread
Carpets of yellow beneath them instead.
Practical Activity
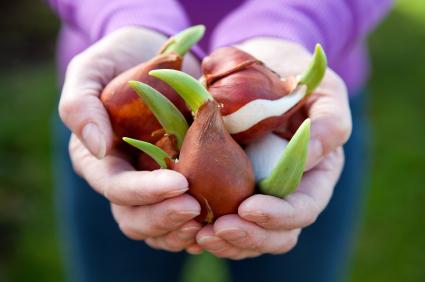
Planting bulbs for the future
LifeWays North America’s publicity director and newsletter editor, Michaeleen Hinca, shared her experience planting tulip bulbs in the LifeWays training:
“As I was raking leaves the other day – one of my most favorite autumn activities – I was thinking back to the first day of my LifeWays training back in August of 1998 and remembering how we planted tulip bulbs in the front yard area of that original LifeWays site in East Troy, WI.
That simple activity was such a profound experience for me for several reasons:
I had planted so little in my life ~ there was a tomato and a pepper plant one summer almost 12 years earlier ~ but never had I committed something to the earth that would “live on” and then bloom on some distant day, with or without me!
The instructor talked to us about the innate need to put something beautiful into the world. And how the earth would keep that bulb safe and protected, (even through a Wisconsin winter!) until the warmth of spring would support the life of the new plant and a thing of beauty would appear and bring joy to others; similarly the work we do with the young and what we put into them today will bloom and be beautiful tomorrow.
The smell of the earth on a cool autumn day and the joy of working with the soil was unexpected and welcome.
And as it happened, this activity coincided with my first miscarriage. I was devastated by the loss of that child. The baby would have “bloomed” that following spring, but now that life had ended. This act of planting “for the future” was incredibly cathartic and so very deeply healing.
The effects of that activity have stayed with me over the years and I reflect on them in familiar and unexpected ways. Those reflections are like an old friend with whom I have a shared beautiful memory. Each Autumn, when the colors emerge and the air grows dry and crisp, I am moved to harvest what has been planted and to plant with great hope for the future. Then-toddlers are now-teenagers and the joy of planting bulbs is again relived, renewing the hope in each of us.”

Social Awareness
Be Inspired with a LifeWays workshop!
This autumn and winter, we’ve got a fantastic lineup of workshops occurring across the country. Check out our workshops!
In Tucson, AZ:
https://lifewaysnorthamerica.org/workshops_training/the-living-arts-tucson/
in the San Francisco Bay area:
https://lifewaysnorthamerica.org/workshops_training/media-in-the-family/
https://lifewaysnorthamerica.org/workshops_training/introduction-to-the-lifeways-training-feb-2-2019/
https://lifewaysnorthamerica.org/workshops_training/pixie-puppet-workshop/
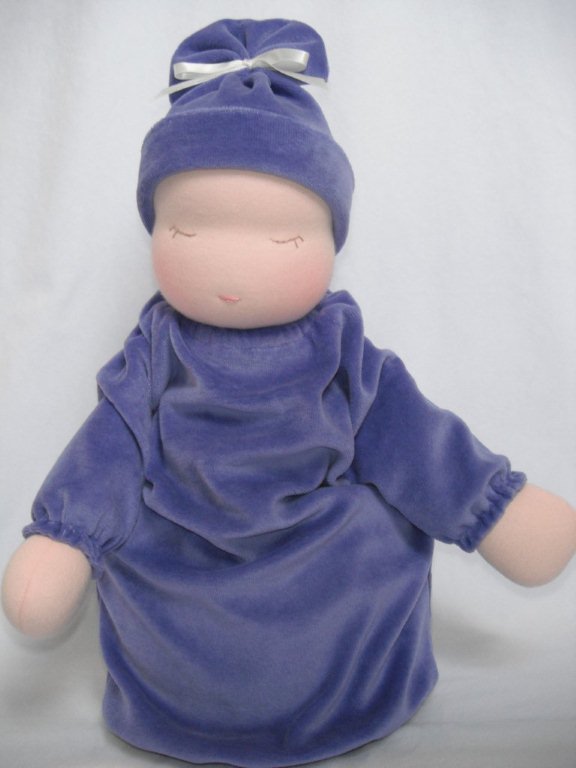
and watch for a NEW workshop in Milwaukee, WI in December, where you’ll make a heavy baby doll! (On the website soon…)
please add me to your mailing list
Done! Patti, you should get an email asking you to confirm your subscription to the LifeWays blog. Thank you!
Hi! I am happily working on the felted leaf project and am wondering what she means by she washed all of the cartage after soaking the felt sheets in cold water then hot drying? Does she wash them all? Or is she speaking of the wool for the needle felting part? Thank you!
Hi Rhea, I can see how that might be confusing. Pamela soaked the felt sheets, then let them dry, then needle felted colored wool onto them. Then she “wet felted” some of them, which involves getting the whole thing (felt sheet with needle felted wool) wet with hot, soapy water and rubbing the wool with your fingers until it felts more smoothly. This process is not necessary, but yields a slightly different end result than simply needle felting. There are lots of good wet felting tutorials online if you want to google it.
Thank you! They have come out so wonderful ??