November 3, 2019
Autumn, the year’s last, loveliest smile. – William Cullen Bryant
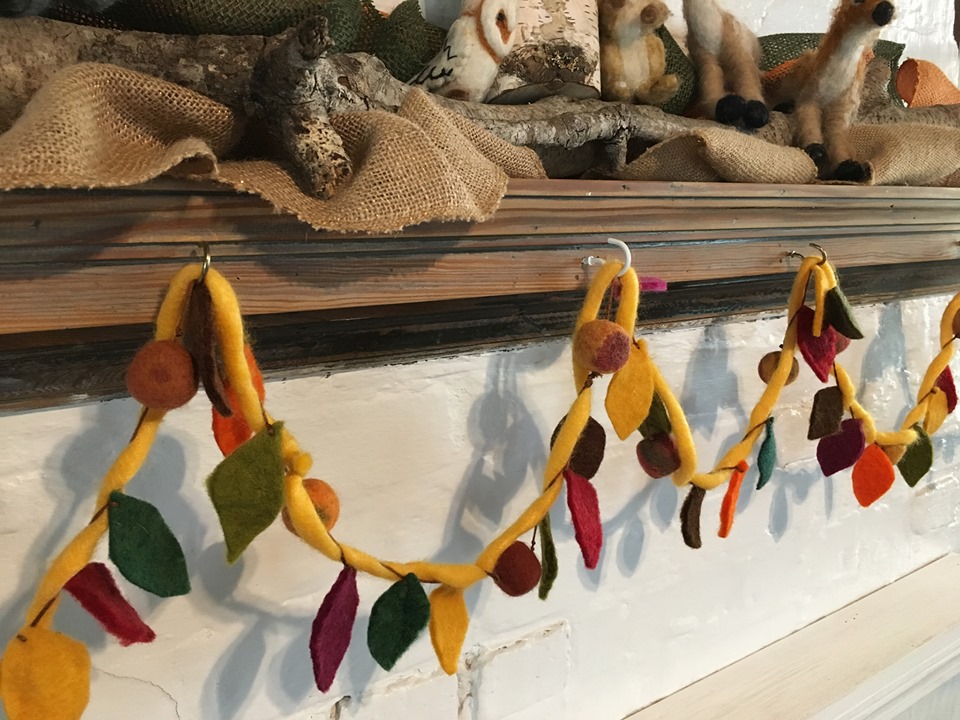
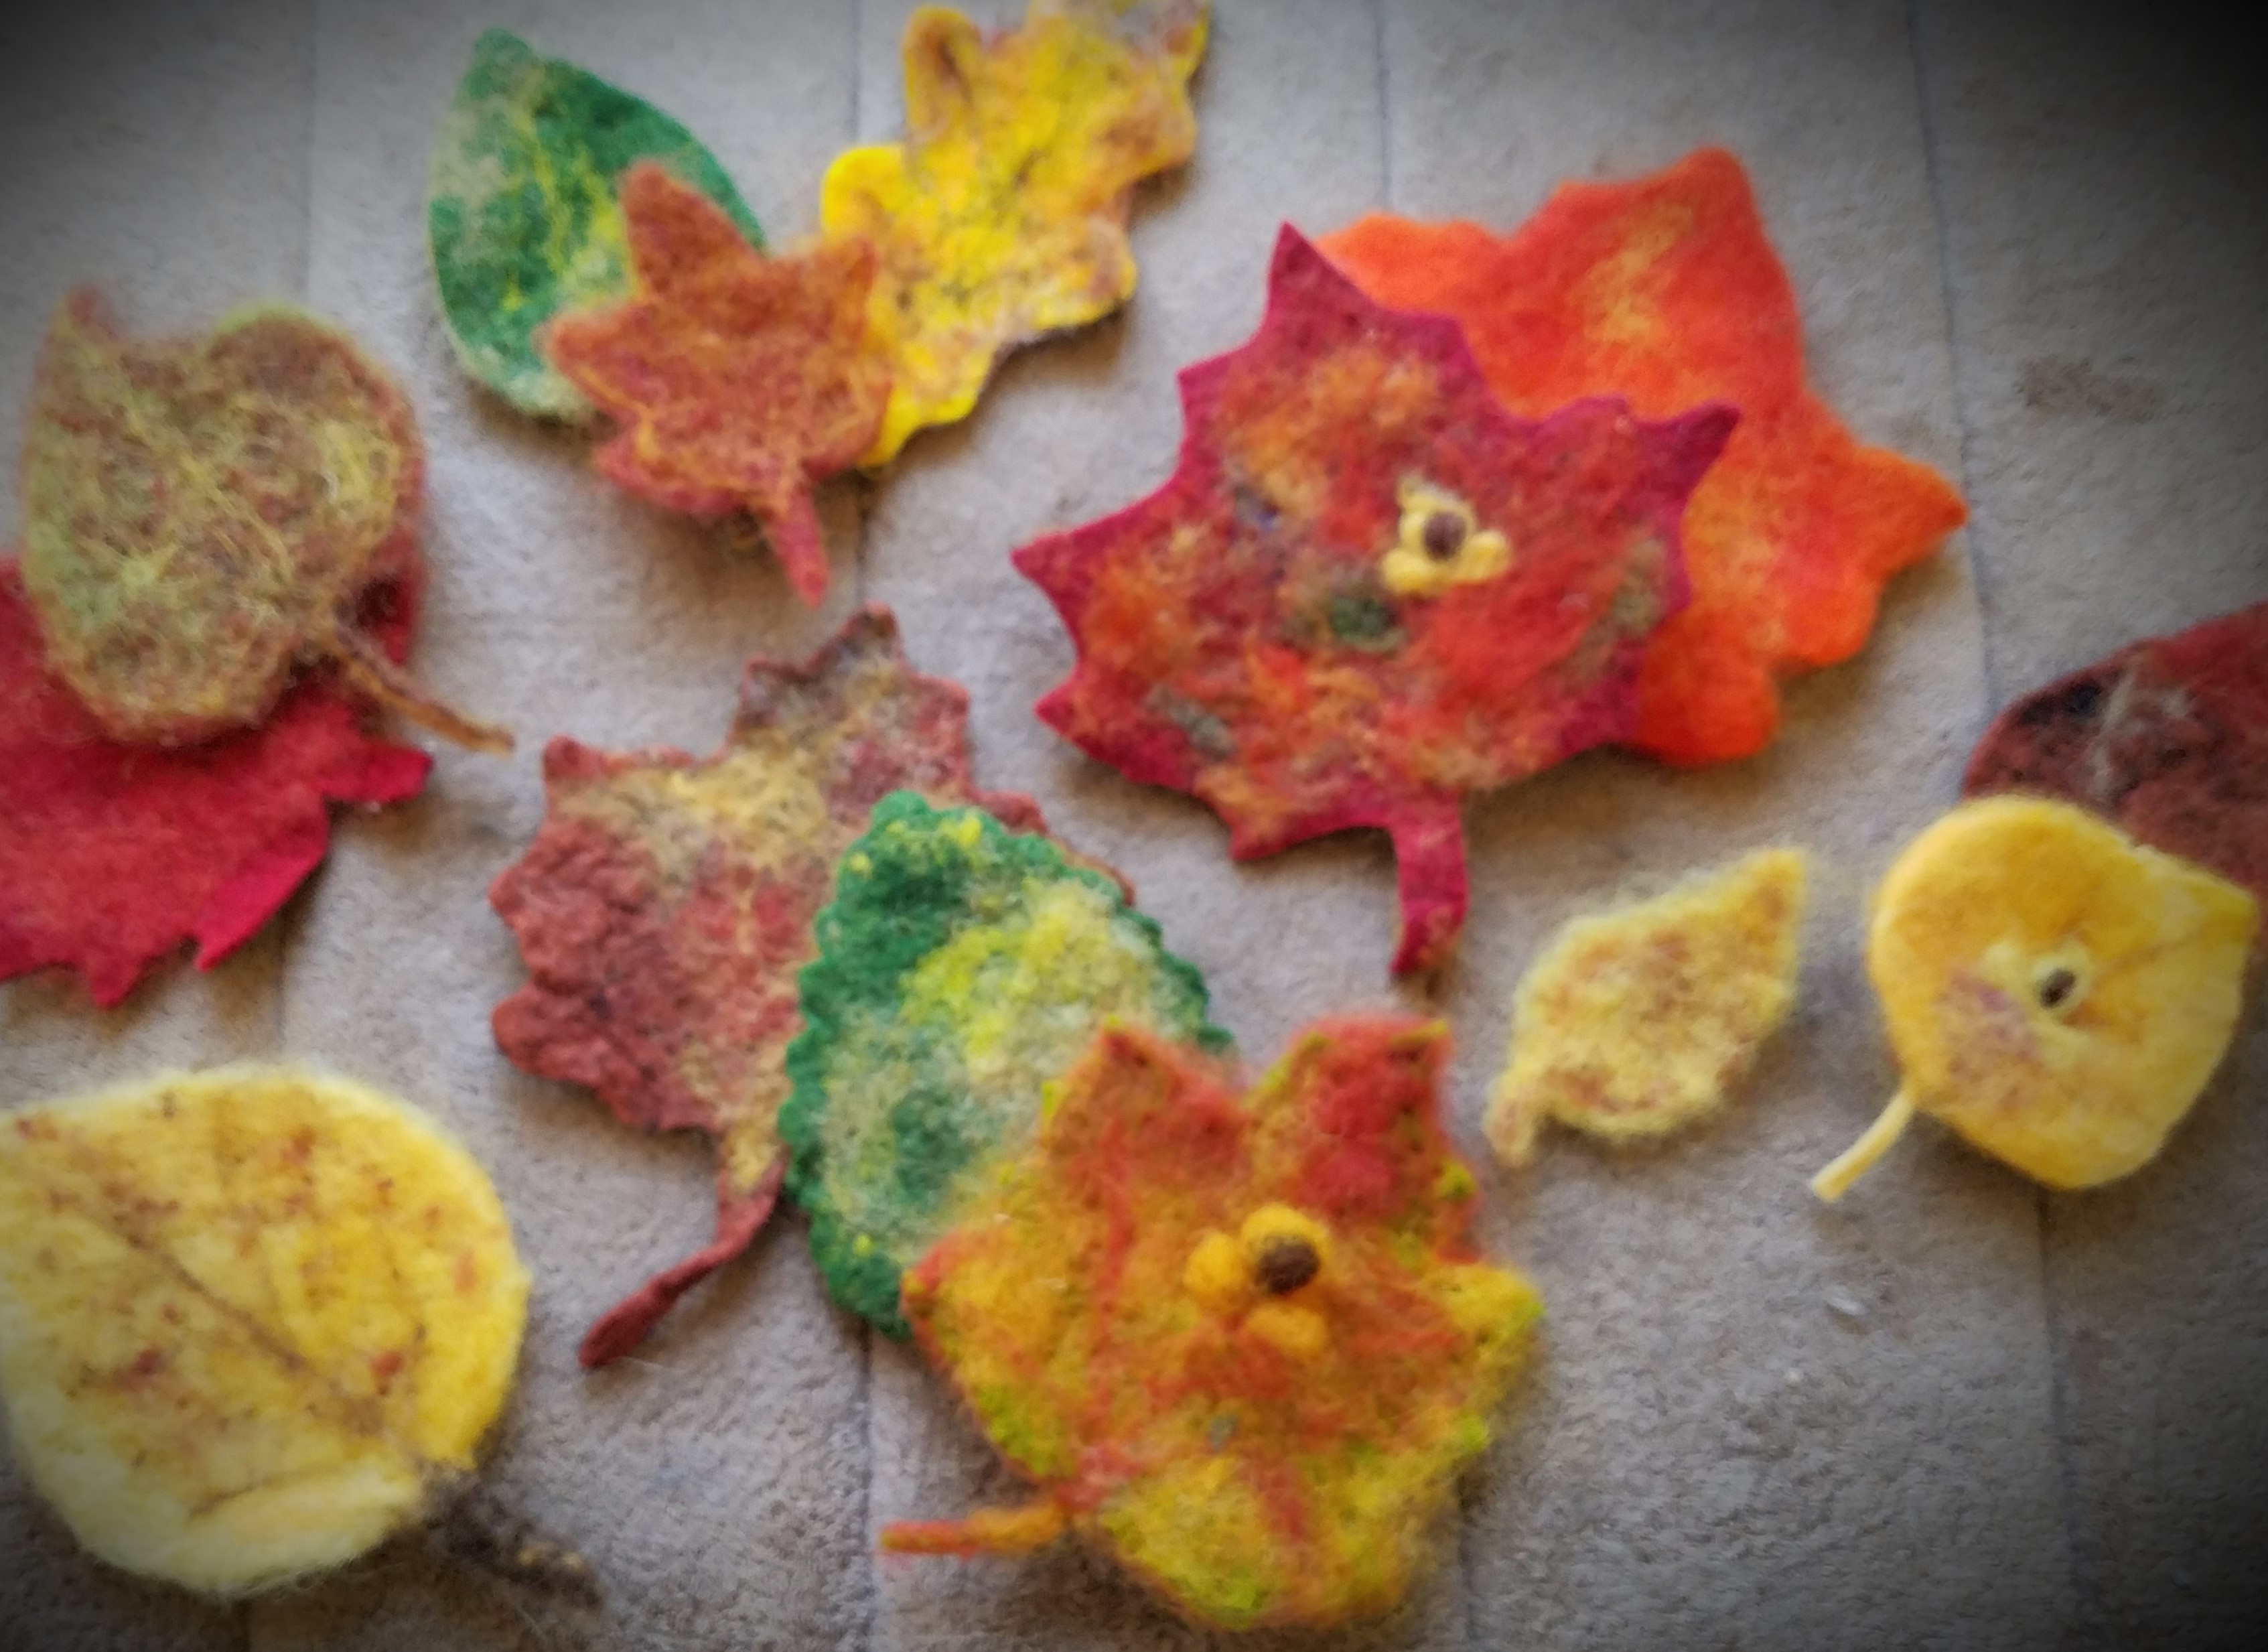
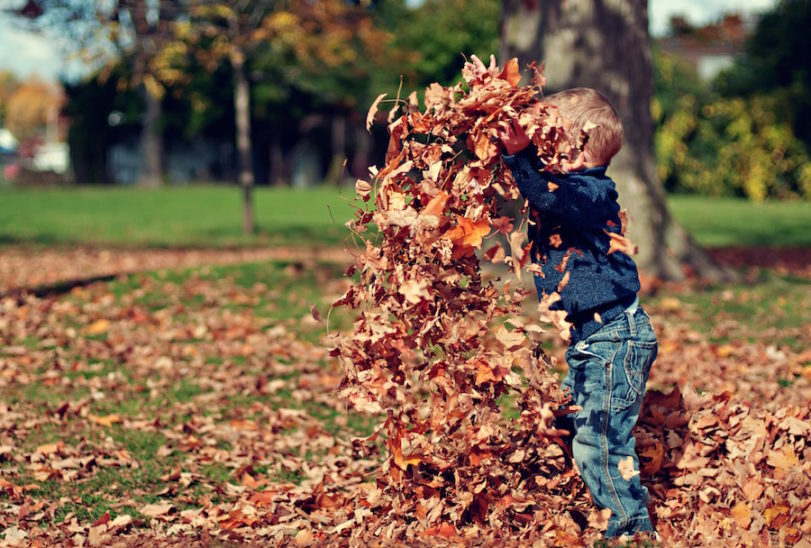
Those lovely autumn leaves are falling! Today’s Living Arts Weekly blog post looks at some ways to celebrate the brilliant tones of the autumn leaves.
Creative Exploration
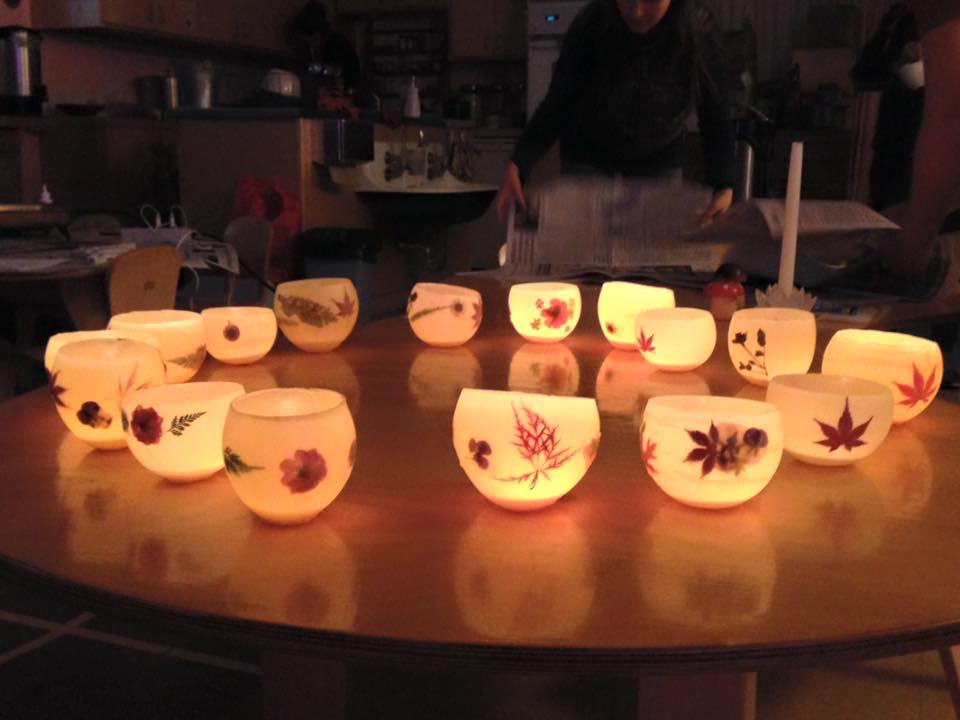
Beeswax Candle Holders
Simple to make, these are created by dipping small water balloons in melted beeswax.
1. Melt wax in a can inside a pot of boiling water, over medium heat. Bees wax melts at a higher temperature than other waxes so you need the water at almost boiling to be successful. Keep an eye on it as bees wax is flammable. Don’t try to melt bees wax directly over a heat source. If it boils over it can cause a fire. Don’t leave the pot unattended.
2. While the wax is melting fill enough water balloons half-full to use as a form. Vary the fullness of the water balloons if you want to vary the size of your finished luminary. When you add hot wax the water inside the balloon will expand, so don’t fill them too full. (LifeWays teacher Bridget Shetty says,”Get small, round water balloons. You don’t want balloons too big or ones that end up with a little nipple on the bottom.”)
3. Now you are ready to begin dipping the water balloon into the wax. Hold the water balloon by the knot. Eyeball a place on the balloon above the curve of the widest point. This will be your dip line. While holding the balloon securely, gently dip the balloon into the wax, just to the imaginary dip line. Lift it up out of the wax,while holding the balloon just above the melted wax, and let the excess wax drip back into the wax can. (Another tip from Bridget: “Once you start dipping, you have to hang on to the balloon the whole time. If you set it down, the balloon expands and shifts the shape of the wax, often cracking it.”)
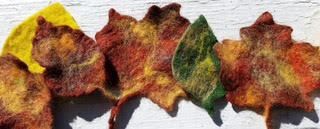
4. Dip the balloon in this manner at least 4 times, each time lifting the balloon above the can and allowing the excess wax to fall back into the can. (Tip from Bridget: “The leaves go on before your last dip. Stick them on gently, dip one more time to seal in the leaves. To flatten out the bottom, it helps to heat up a large butcher knife or something else flat and metal. Press the wax holder on to it, flattening out the bottom so it can sit on a table surface.”)
Pls add me to your email list. Thx
Will do!